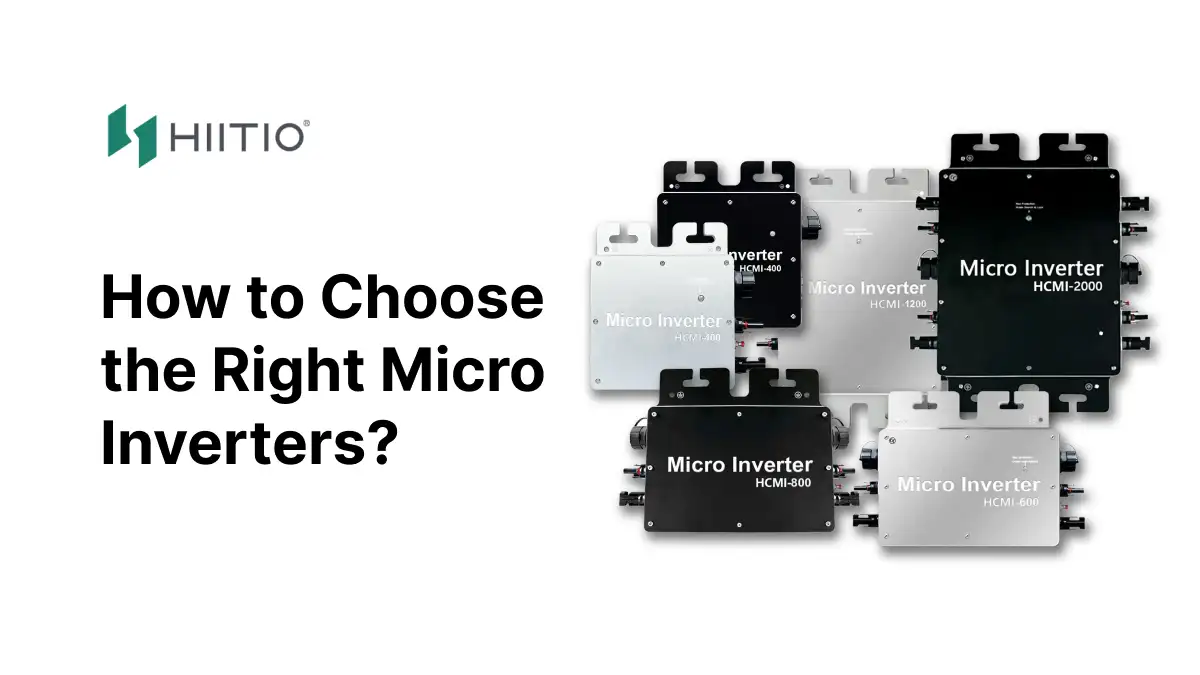
Introduce to Micro Inverter
Micro inverters are small, modular inverters typically used in configurations such as one-to-one, one-to-two, or one-to-four connections, with each module equipped with an independent MPPT inverter. Key application scenarios include small residential systems and Building Integrated Photovoltaics (BIPV) projects.

Micro inverters enable MPPT control of individual modules, achieving high efficiency and output levels. Unlike other inverters, micro inverters are integrated with each PV module, allowing for precise Maximum Power Point Tracking (MPPT) control of each module, significantly enhancing overall system efficiency and output. Additionally, micro inverters are characterized by their small size and lightweight, requiring no additional land for installation, greatly enhancing convenience. They are primarily suitable for small to medium-sized station projects, such as residential systems.
Working Principle of Micro Inverter

Micro inverters work by converting the direct current (DC) energy produced by each individual solar panel into alternating current (AC) electricity. Unlike traditional inverters that handle the output of multiple panels connected in series, each micro inverter is directly attached to a single solar panel. This configuration allows each panel to operate independently, optimizing its output based on factors like sunlight exposure, shading, and panel orientation.
How to Choose Micro Inverters?
Choosing the right micro inverter is a crucial step for integrating photovoltaic (PV) panels with micro inverters. It requires a comprehensive consideration of factors such as the voltage and current characteristics of the PV panels, the rated voltage and current of the micro inverter, and the requirements of the grid. Selecting the appropriate micro inverter ensures that the power generation system operates at maximum efficiency while meeting all grid standards and requirements.
1. Voltage Characteristics
Before selecting a suitable micro inverter, it is essential to understand the voltage and current characteristics of the PV panels. The voltage of the PV panels depends on factors like light intensity and temperature. Generally, the compatibility between the inverter and the solar panel depends on whether the open-circuit voltage is compatible, which usually ranges between 37-48V, with the maximum power point voltage between 15-20V.
2. Rated Voltage and Current of Micro inverters
Micro inverters are devices that convert the direct current (DC) generated by PV panels into alternating current (AC). The rated voltage and current are crucial parameters for micro inverters. When choosing a micro inverter, the voltage and current should be determined based on the rated output voltage and current of the PV panels to ensure that the panels can operate normally and maximize power generation efficiency.
3. Grid Requirements
Additionally, when selecting the voltage of micro inverters, grid requirements should be considered. The grid has strict requirements for the operation of PV power stations, generally demanding that the output current and voltage of the power generation system be within an appropriate range and meet quality standards without affecting the safety and stability of the grid.
By considering the above three aspects comprehensively, it is generally recommended to choose a micro inverter that matches the voltage of the PV panels to ensure maximum power generation efficiency and grid stability. In practical applications, other factors such as the number of PV modules, array configuration, installation angle, and direction should also be considered to maximize power generation efficiency.

Talk to an En Micro Inverter Expert to Get A Free Quote
Q&A

Q: The MPPT range is 300-400W, why is it different from 600-2800W?
A: The maximum input voltage refers to the voltage from the solar panel to the inverter. The solar panel voltage must not exceed the maximum input voltage of the inverter, as this can damage the device.
Q: Do we need to strictly follow this maximum value? Is it okay to exceed it by 3-5V?
A: The startup voltage is the minimum voltage of the solar panel. If it is below 22V, the device cannot start or will show a red light warning.
Q: The maximum input power is 800W, suggesting using panels between 310-400W. What happens if it exceeds this range?
A: Exceeding this range can cause the device to overheat.
Q: The maximum input current is 10.5A. Should we strictly keep it below this parameter?
A: When solar panels are connected in parallel, the voltage remains constant, and the current adds up. In series, the voltage adds up, and the current remains constant. Connecting the positive and negative terminals of solar panels in series results in a series connection, while connecting positive to positive and negative to negative results in a parallel connection.
By understanding and considering the above information, choosing the right micro inverter involves multiple factors to ensure efficient operation of the power generation system and the safety and stability of the grid.
Micro Inverter Module Functions and Common Issues
1. WiFi Module
The WiFi module allows inverter data to be displayed on the app. Through the app, users can monitor whether the inverter is working, check its input and output power, and view real-time voltage and current data.

LED Display for WiFi Status:
- Blue light flashing continuously: The WiFi cloud monitoring module is waiting to be configured.
- Blue light steady: The WiFi cloud monitoring module is operating normally.
- Blue light flashing intermittently: The network is not configured or cannot connect to wireless network devices, or the micro inverter has been deleted from the cloud.
- No light: The WiFi cloud monitoring is working normally.
Preparation Before Configuration and Use:
- Properly install the micro inverter and ensure it is functioning and generating power.
- Download and install the “Smart Life” app.
- Enable Bluetooth on your smart device.
- Ensure your wireless network device (such as a router) is working and connected to the internet.
- Use your smart device to control the micro inverter’s installation position to connect to the wireless network device. If you can access the internet, follow the configuration and usage instructions below.

Common Issues:
- WiFi cannot connect.
- WiFi signal from the inverter is too weak, only detectable when close to the inverter.
- WiFi only works within a 10cm range.
- WiFi is connected but does not display power data.
Problem Analysis:
- The customer’s home WiFi signal may be unstable.
- There may be an issue with the WiFi module.
Solutions:
- Communicate with the customer to attempt connecting multiple times.
- Upgrade the quality of the WiFi module, replacing it with a reliable, certified module for better performance.
- Use an external WiFi antenna to extend the reception range, ensuring a 20m range is feasible.
Connecting the Mobile App:

When connecting the mobile app, note the following:
- Ensure the phone’s Bluetooth or WiFi is enabled.
- Place the inverter within the coverage range of the home WiFi; weak WiFi may cause connection failures.
- If WiFi disconnects, delete the previously connected device before reconnecting.
- If reconnection fails, press the red WiFi button on the side of the device for 5 seconds to reset it. When the WiFi indicator blinks blue, reconfigure the connection.
2. MPPT Module
- Tracking efficiency is 96-98%, ensuring the inverter operates within the optimal DC working voltage range.
- It adjusts and compensates the AC waveform, frequency, voltage, and current output from the main inverter circuit, converting input voltage to a suitable DC voltage for the control circuit.
- Provides protection circuits including input over/under voltage protection, output over/under voltage protection, over current protection, short circuit protection, leakage protection, and islanding protection.
- Inverters up to 800W include one MPPT tracking module; those above 800W include two MPPT modules.
3. Thermal Management Module
Causes of Overheating:
- Semiconductor components such as MOSFETs and transformers generate heat due to conversion efficiency.
- High indoor and outdoor temperatures in summer can cause the device to overheat.
- Mismatched solar panels or unstable voltage can cause the product to repeatedly restart, leading to heat damage.
Common Overheating Issues:
- Overheating shutdown.
- Frequent overheating shutdowns during the day.
- Overheating leads to component damage and fuse blowouts.
Solutions to Overheating:
- Upgrade the quality of key power devices and chips to reduce operating temperatures.
- Use industrial-grade chips to improve temperature tolerance.
- Implement automatic thermal management control on the main board. When the internal temperature exceeds a set value, the system reduces power output linearly.
- Maintain stable operation at 400-500W when the device casing reaches 70°C, gradually restoring power to 800W as the temperature drops.
4. AC Relay Protection Module
Function:
- During the grid-connected power generation process, it provides bidirectional protection between the grid and the product, ensuring safer operation of the product.
- In case of abnormal AC grid conditions (such as over/under voltage, over/under frequency, islanding protection) or product malfunctions (such as over current and short circuit, PV input over/under voltage, internal over-temperature, etc.), it disconnects the product from the AC grid. This prevents damage to the product from the grid and interference with the grid from the product.
5. Inverter Indicator Lights
Front Indicator Lights (one for ≤800W, two for >800W):
Greenlight:
- Steady: Normal operation.
- Flashing: Tracking the maximum power point.
Red light:
Steady:
- Abnormal AC mains (over/under voltage, over/under frequency, over current, or short circuit).
- Controlled by the mobile app to be in the off state.
Flashing:
- Over/under voltage input from the solar panel.
- Device internal temperature too high.
Side Indicator Light:
Blue light:
- Steady: Network configuration successful.
- Slow flashing: Network configuration in progress.
- Fast flashing: Waiting for network configuration.
6. Device Not Working
Common Issues and Solutions:
Red light steady:
- Abnormal AC mains (over/under voltage, over/under frequency, overcurrent, or short circuit).
- Controlled by the mobile app to be in the off-state.
Solutions:
- Check AC voltage and frequency values to ensure they are within the product specifications.
- Use the mobile app to connect to the product and turn it on.
Red light flashing:
- Over/under voltage input from the solar panel.
- Device’s internal temperature is too high.
Solutions:
- Check the PV output voltage from the solar panel and ensure it is within the product’s normal operating range.
- Ensure the operating environment is within specification limits.
Red light off:
- Solar panel output not connected to the product’s PV input.
- DC fuse blown.
Solutions:
- Reconnect the PV output from the solar panel to the product.
- Replace damaged components and the DC fuse.
Blue light off:
- Product AC input not connected to the mains.
- AC fuse blown.
Solutions:
- Securely connect the product’s AC output to the mains.
- Replace damaged components and the AC fuse.
Conclusion
Choosing the right micro inverters is crucial for optimizing the efficiency and reliability of a photovoltaic (PV) system. It involves careful consideration of several key factors.
Firstly, understanding the voltage and current characteristics of the PV panels is essential to ensure compatibility with the micro inverter’s rated parameters.
Secondly, adherence to grid requirements is necessary to meet local safety and stability standards.
Additionally, features such as WiFi connectivity, MPPT tracking efficiency, thermal management, and AC relay protection should be evaluated based on specific project needs. By comprehensively analyzing these factors, users can select micro inverters that best suit their requirements, thereby maximizing the performance and long-term benefits of their PV systems.